Navigate to the Results Tab #
Start by entering the Agolix editor.
First, select the “Edit” link in the menu underneath your assessment.

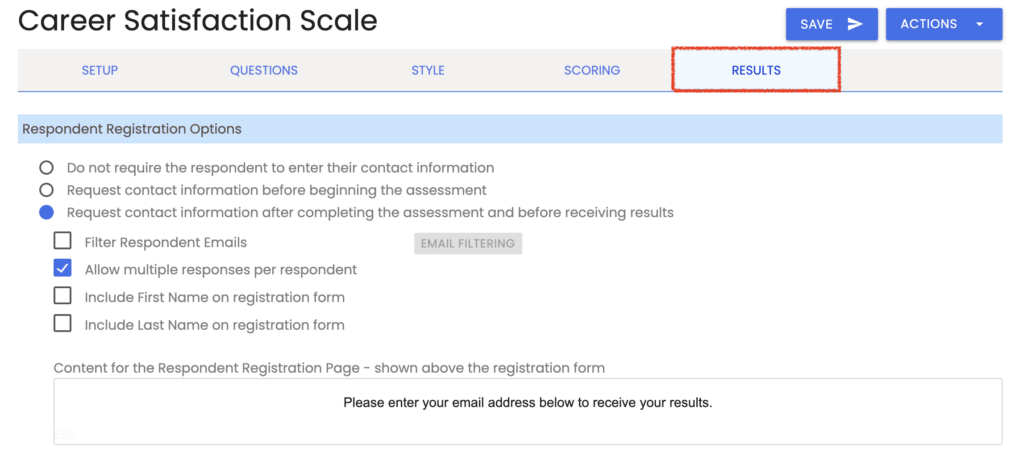
Then click on the “Results” tab at the top of the page.

Activate PDF Report #
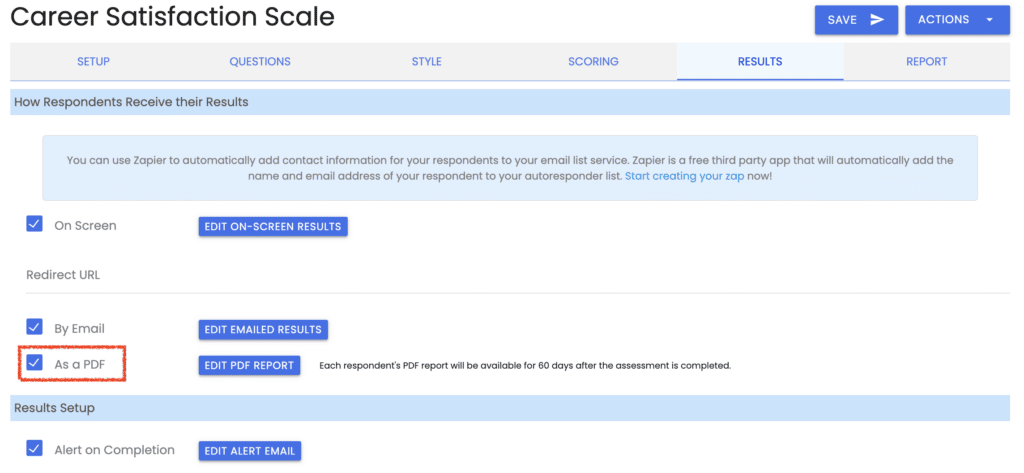
Scroll down to “How Respondents Receive Their Results“ and select the checkbox next to the “As A PDF” setting.

When this setting is enabled, the “Report” tab will appear at the top of your editor window.

This is where you design the content for your PDF report.
Select PDF Delivery Methods #
Next, choose how you’d like to deliver your PDF report:
- On-Screen Results: Available for download from each respondent’s browser.
- Emailed Results: Available for download from the results email sent to each respondent.
- Alert Email: Available for download from the alert email sent to the account holder (and other email addresses specified by the account holder)
Ensure that the desired delivery method is enabled, and then click the corresponding “Edit” button.

Include PDF Report in Dynamic Content #
Enable the “Include PDF Report in Results” in the editor window.

Click the “Save” button to save your settings.
Repeat for other delivery methods as desired.
Include Merge Code for PDF Report #
You can include the PDF_URL Merge Code in any delivery method to attach the link to a button, another image, or text for more formatting flexibility.
See PDF as a Merge Code for details.
Send PDF Report to External Application #
With Advanced, Private Label, and Enterprise plans, you can send a copy of the PDF Report to an External Application via a Zapier Integration.
See How to Set Up an Integration for details.
Pass PDF Report to Your Web Page #
With Advanced, Private Label, and Enterprise plans, you can send a copy of the PDF Report to a page on your website using a Webhook integration.
See Receive Notifications via REST Webhooks for details.
Please review the rest of the User Guide to learn more about our software.
Thank you for choosing Agolix!


